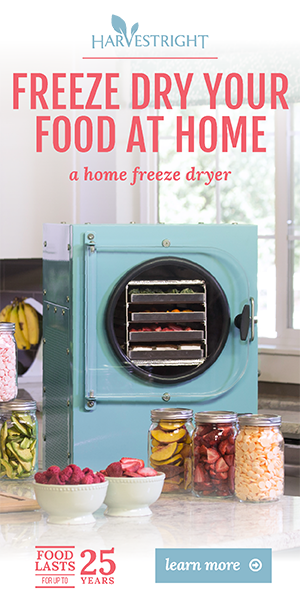
We love our Harvest Right freeze-dyer and have had it running quite a bit this year. From carrots to pumpkin pie, to noodles and candy, we just love seeing what will freeze-dry in it.
We grow a lot of peppers, onions and tomatoes on our homestead, and yearly I water bath can at least 100 pint jars a summer as salsa. So to say the least, this project was an easy one for me try out freeze-drying. Being we did it in spring, I wanted to start slimming down jars in our pantry, knowing we would be making fresh soon. Making 5 trays worth of instant salsa used up 15 pints quickly. That’s 15 mason jars emptied and ready for this year’s harvest.
To start the process in our Harvest Right freeze-dryer, I cut 5 sheets of parchment paper (Costco rolls of it are affordable, and massive in size) to fit the trays, with paper coming up on all the sides of the metal trays. I save one paper piece and use it as a template for every time I need to do this, to save time. We do own the silicone mat liners that Harvest Right sells, and use them often, but for liquids such as this, it is far easier to have the sides lined as well. Less cleanup.
I then opened up and spread on each tray 3 16-ounce jars of salsa. If you were buying salsa this project would be rather expensive. But for me, since I produce it, it is quite affordable. Having said this – you can make fresh salsa and proceed. You would just need 6 cups salsa per tray. Do not drain it!
I covered each tray with a plastic tray lid cover and stacked them in our freezer till frozen (it took a few hours). (The tray lids are bought separately on Harvest Right’s website, but are WELL worth the additional cost, as it makes prepping so much easier. In fact we own a second set of the metal trays so we can have the next batch freezing while a batch is drying.)
Meanwhile, I prepped the freeze-dryer and got it going to chill down. It can take an hour or two for this to happen.
Once ready, we put all the trays in, closed it up and set it to go. It takes about 24 hours or so to be done.
Once fully freeze-dried, we broke it apart and bagged it up for long-term storage in mylar bags – although I always do at least one mason jar worth of product to test out and to watch for any changes. All bags have oxygen absorbers and desiccant packets added as well. We then seal the mylar bags using our Avid Armor USV32 Chamber Sealer. It pulls the air out for an efficient seal.
Mark dates, and what’s in the bag, and all done! Just store it till it’s time to use it – and salsa has so many uses besides just dipping chips in it.

Now then, lets talk about rehydrating the freeze-dried salsa!

In the picture are 3 bowls: Just out of the jar, rehydrated with boiled water and rehydrated with cool water. Both of the rehydrated bowls sat for 15 minutes, stirred periodically.
We used ¼ cup dry mix and about 6 Tablespoons water. Start with 4 Tablespoons, add as needed to get the thickness you desire.
This part I found interesting because the cold prep was far better than the hot prep.
How so?
The bowl with hot water stayed thinner, even after sitting far longer. It also mushed up a bit I felt.
The cold prep was instantly thick, and the vegetables stayed intact. It tasted exactly as the fresh in the far left bowl did. Same thickness as well.
This is a bonus as cold prep is just that much easier to do.
An easy recipe to try it in?

Here is a favorite backcountry recipe of mine (which I write about on TrailCooking) which the freeze-dried salsa works great in.
Salsa Rice
In a quart freezer or sandwich bag:
- 1 cup instant rice
- ¼ cup freeze-dried salsa
- ¼ cup freeze-dried ground beef or sausage crumbles
- 1 tsp low sodium beef bouillon
Also take:
- 1 Tbsp or 1 packet olive oil
FBC Method:
Add freezer bag into a FBC Cozy. Add oil and 1½ cup boiled water. Stir well, seal tightly and let sit for 15 minutes.
One Pot Method:
Add oil and 1½ cups water to a 1.3 to 1.5 liter pot, bring to a boil. Add in dry ingredients, stirring well. Cover with lid, turn off flame. Let sit for 15 minutes.
In cool temperatures, or at altitude insulate the pot.
Serves 1.
Note:
I sprinkled on ¼ cup freeze-dried montery jack cheese at the end, and stirred it in. It melts quickly.

FTC Disclaimer: This post contains affiliate links that give us commissions on products purchased. These items are what we used in the recipes.
~Sarah

